Install
Clips together by hand.
The tubes join with clip-in connectors (straight, corner, T, V and Y) so the grid clips together by hand; mounting to the ceiling needs a drill and screws.
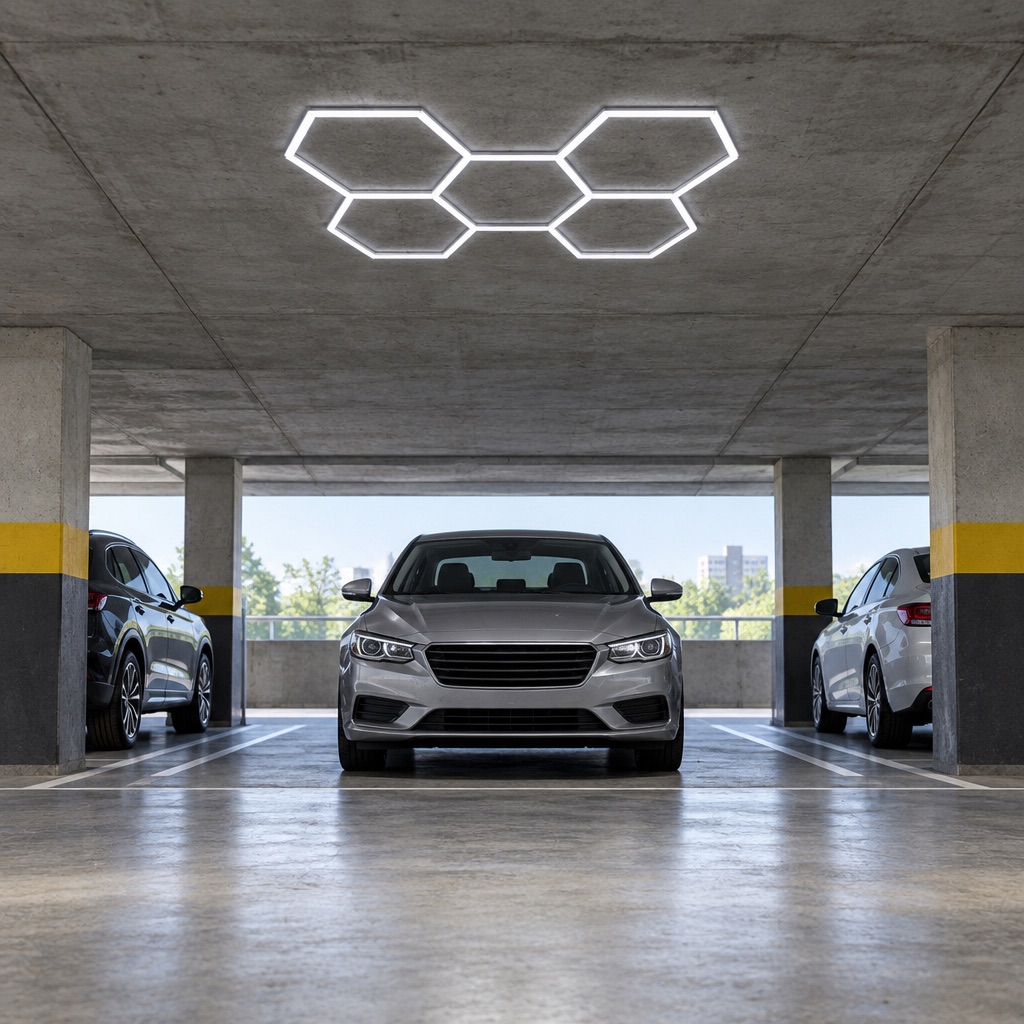
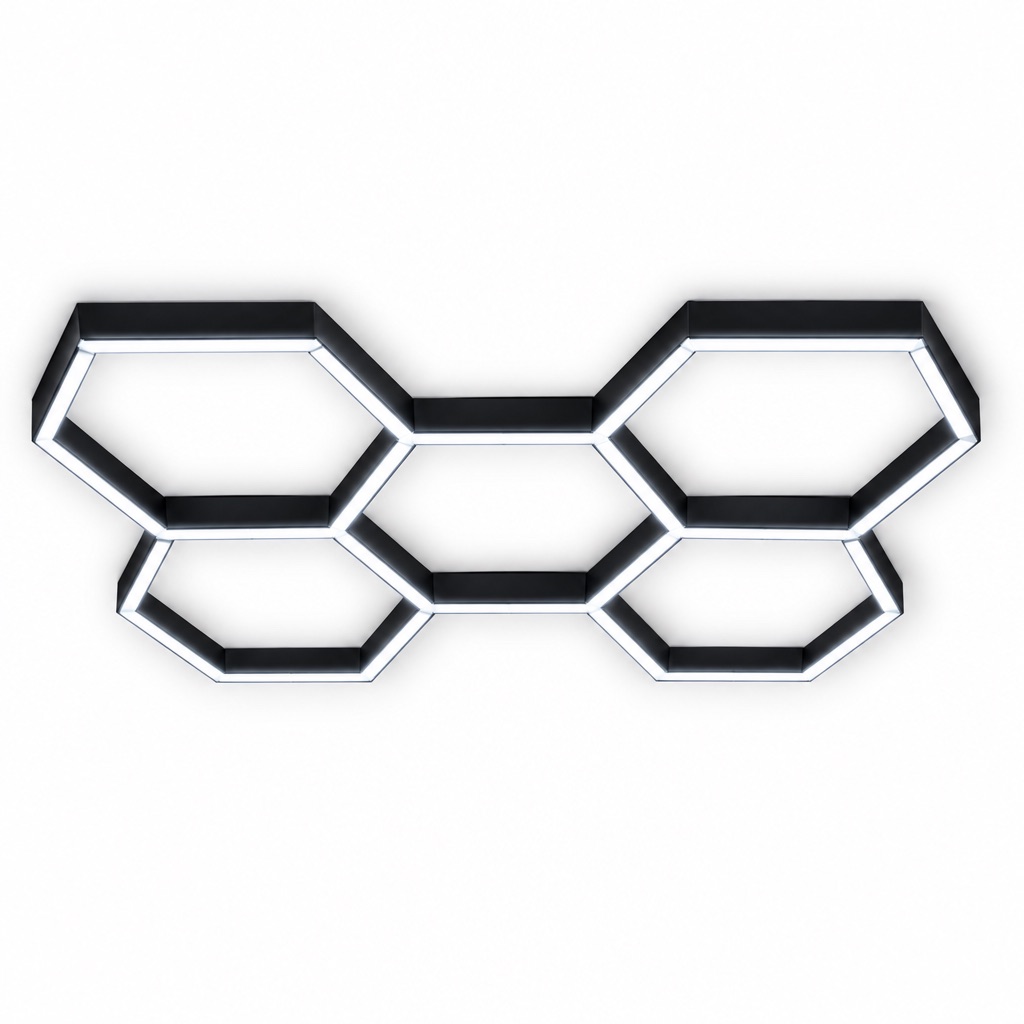
From the box
From the box to the ceiling.
What the listing says it takes: the connectors in the box, a drill and screws, and the power cord.
- Lay out the tubes The LED tubes for your layout.
- Clip the grid together Straight, corner, T, V and Y connectors, by hand.
- Mount it flat or hang it A drill and screws hold it to the ceiling.
- Connect the power cord 110 V; use a normal on/off switch.
In the box
What arrives.
The LED tubes
For your layout: 5, 7 or 14 honeycombs.
The connectors
The clip-in connectors that join them.
One power cord
110 V.
Power and mounting
As listed.
- Power
- 110 V
- Power cord
- Included
- Dimming
- Not listed as dimmable
- Switch
- A normal on/off switch
- Mounting
- Flat against the ceiling, or hanging
- Tools
- A drill and screws
No UL or ETL listing is stated by the manufacturer.